


Are you in search of an affordable laptop? If your answer is a YES, then you probably have heard about Lenovo Ideapad 330-15 AMD. In case you are searching for more about this product, you have reached the right place.
A much popular and budget-friendly laptop, this gadget comes with a variety of options when it is related to battery life and storage. In this article, I will be talking about the product in detail and point out how the Lenovo Ideapad 330-15 AMD can be of help to you.
So, if you have been searching for its reviews and other information about this laptop, you do not have to look any further. Keep reading this article till the end to learn more…
Lenovo Ideapad 330-15 AMD
Lenovo IdeaPad 330 is a cheap laptop with a comfortable keyboard and enough processing power for daily computing needs. This 15.6-inch laptop has a sturdy design and features that are uncommon for budget laptops.
It even features a DVD drive, which is unusual to find on laptops these days. Sadly, a subpar display, limited battery life, and average performance ruin the fun, so we advise spending a little more on a more effective device, such as the Acer Aspire E 15. It remains one of the greatest laptops available for around $300.
The product’s starting price is $275, making it a cheap laptop (as of August 2021 when I published this review). Unfortunately, the Lenovo IdeaPad 330 has some drawbacks, just like most budget laptops.
Keep reading this blog till the end to learn more about the same…
Design And Looks
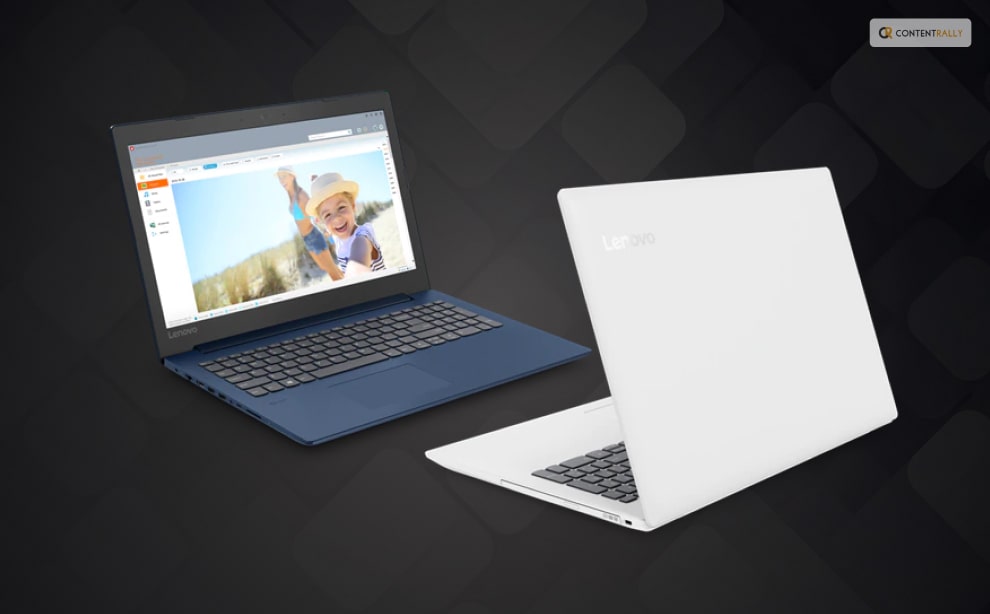
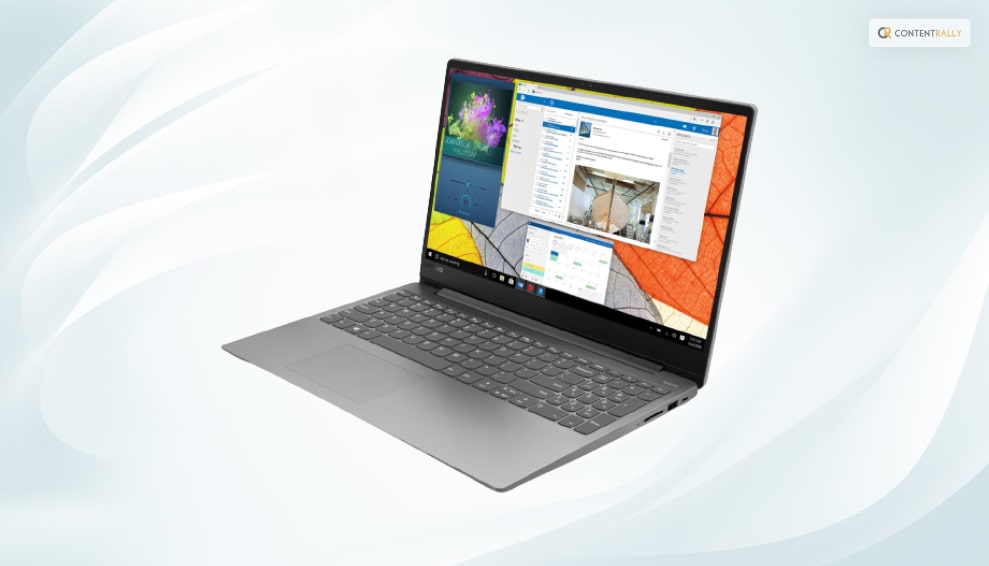
Lenovo IdeaPad 330 is an attractive low-cost laptop, and there is no doubt about that. The color palette is Platinum Grey.
This color scheme is ideal for a laptop used for school or the workplace because it is on the cool side of the color spectrum.
Plastic is used to make the laptop. However, the color scheme gives the impression that the keyboard deck and palm rest are made of aluminum.
Like the IdeaPad 320 before it, even the horizontal Lenovo logo on the lid follows the brand’s standard aesthetic.
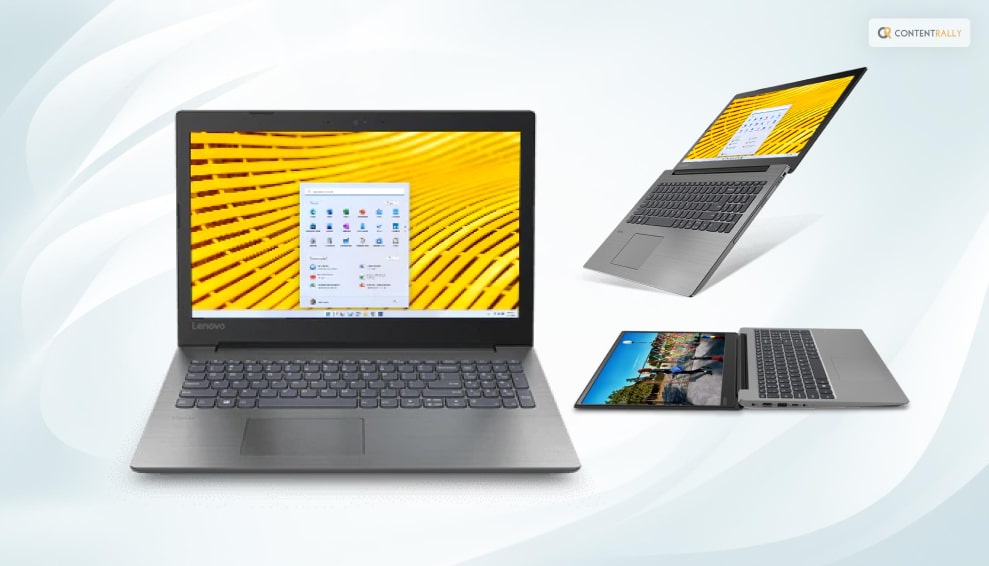
Lenovo IdeaPad 330 is a 15.6-inch display panel with two resolution options included with the IdeaPad 330. Either the HD (1366 x 768) or FHD (1920 x 1080) screen resolution is available for the laptop.
The IdeaPad 330 is one of the few inexpensive laptops with a larger display than the typical 13-inch size offered by low-cost laptops. The 15.5-inch display screen of the laptop of the Lenovo IdeaPad 330 that I tested had an HD (1366 x 768) screen resolution.
Lenovo IdeaPad 330 is a rectangle with rounded corners and a silver lid on which is imprinted the Chrome logo. The silver laptop lid and the dark-gray undercarriage are composed of durable plastic, and the IdeaPad’s chassis is neither bulky nor heavy nor thin.
Features
Now that you know a little about the gadget, it is time for you to learn about its features.
Here are some of the many features of Lenovo Ideapad 330-15 AMD that you need to take a look at:
1. Productivity
Upgrade to AMD Ryzen for industry-leading graphics (on some models). The most recent AMD Ryzen CPUs were developed over the course of more than 4 years and 2 million engineering hours. The AMD Ryzen Accelerated Processing Unit was produced by AMD using that technology along with the most eagerly anticipated graphics engines. Your power, performance, and speed will be optimized whether you’re working or playing.
2. Storage
You can customize the storage on your Ideapad 330 so that you only pay for the things you require. Choose a SATA HDD up to 2 TB to store thousands of files, videos, and photos. A rapid SATA SSD with a capacity of up to 256 GB offers quicker data transfer rates and quicker boot-up times. Additionally, you can create hybrid storage by combining a 128 GB SATA SSD with a 1 TB SATA HDD to get the best of both worlds.
3. Rapid Charge

Are you short on time and low on battery? The Ideapad 330 has a battery life of up to 6 hours and features Rapid Charge, which gives you up to 2 hours of use after only 15 minutes of plugged-in time. Utilize it as best you can.
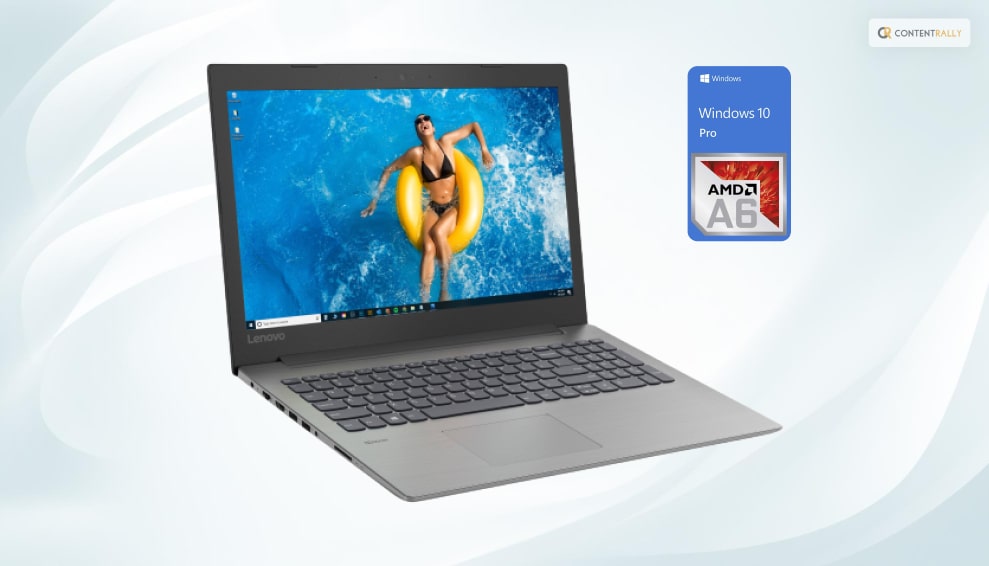
4. Windows 10
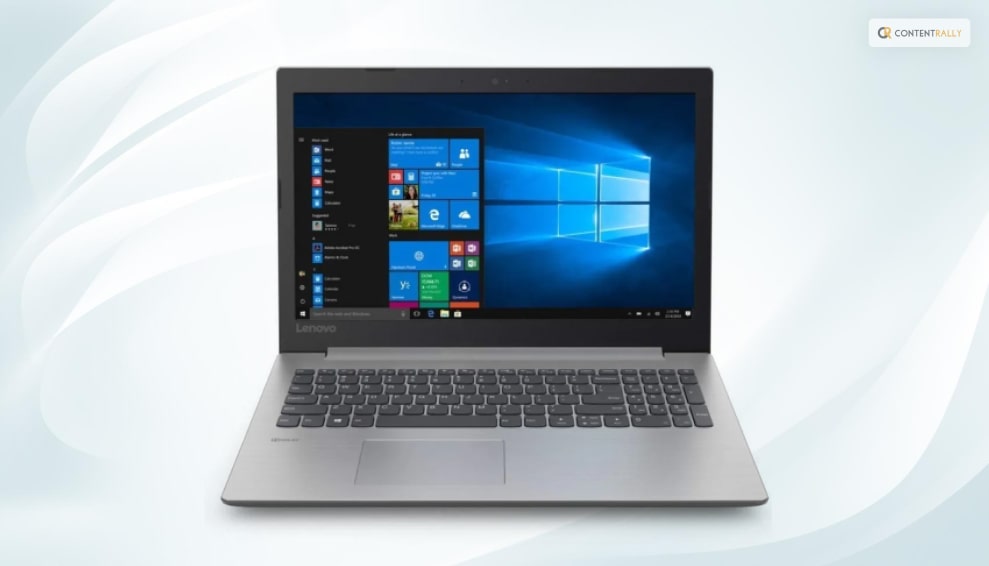
With the help of Lenovo Ideapad 330-15 AMD, you can take advantage of Windows 10’s best features with a brand-new update. To tell your story in video, the powerfully redesigned Photos app makes it easier and more fun: add a soundtrack, use changes, send 3D impacts, and from there, the sky’s the limit. Furthermore, sharing is faster than at any other time, with instinctive settings that make it more straightforward to in a split second associate with individuals you care about most.
5. High Resolution And Sound Quality
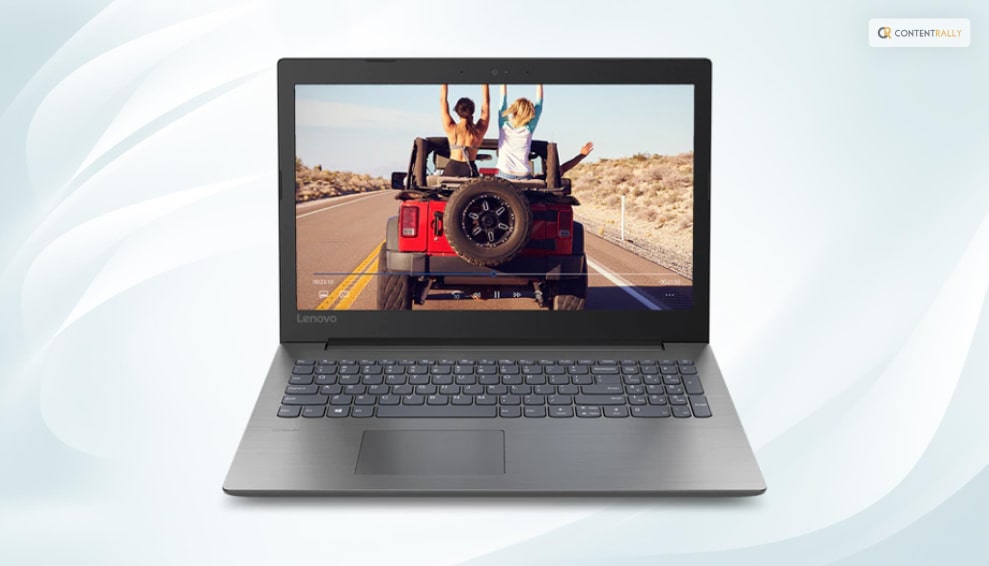
The Ideapad 330 provides powerful visuals while on the go thanks to its 15.6-inch display with up to FHD resolution. The 330 delivers a significantly enhanced entertainment experience when paired with Dolby AudioTM. You will hear every detail if you turn up the volume without causing distortion.
Specifications
| Processor | Up to AMD Ryzen™ 7 2700U Mobile Processor with Radeon™ RX Vega 10 GraphicsUp to 7th Generation AMD A9-9425 APU |
| OS Operating system | Windows 10 |
| Graphics | Up to AMD Radeon™ 540*AMD Integrated |
| Display | 15.6” FHD (1920 x 1080)15.6” HD (1366 x 768) |
| Memory | 16 GB onboard DDR4*4 GB onboard DDR4 + 8 GB DIMM*4 GB onboard DDR4 + 4 GB DIMM*4 GB onboard DDR4 + 2 GB DIMM*16 GB DIMM4 GB onboard DDR4*8 GB onboard DDR44 GB onboard DDR4 |
| Storage | 128 GB SATA SSD256 GB SATA SSD500 GB SATA HDD1 TB SATA HDD2 TB SATA HDD128 GB SATA SSD + 1 TB SATA HDD |
| Audio | 2 x 2 W speakers with Dolby Audio |
| Battery | Up to 4.5 hours*; Rapid Charge |
| Dimensions (W*D*H) | 378 mm x 260 mm x 22.9 mm / 14.1″ x 10.2″ x 0.9″ |
| Weight | 2.2 kg / 4.85 lbs (starting weight) |
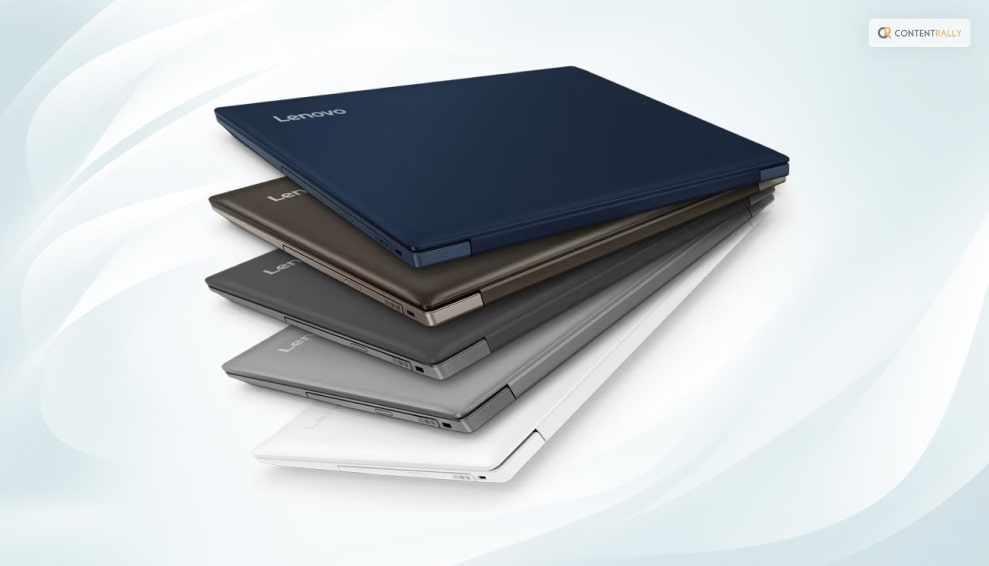
| Color | Platinum GrayBlizzard WhiteMidnight BlueChocolateOnyx Black |
| WiFi Bluetooth | 1 x 1 AC WiFi + Bluetooth 4.1 |
| Ports | USB Type-C 3.1*2 x USB 3.0 (one charging)**HDMI4-in-1 card reader (SD, SDHC, SDXC, MMC)Audio jack |
Wrapping It Up!
In case you were searching about the Lenovo Ideapad 330-15 AMD reviews and other specifications about the same, I hope that this review blog has been of help to you. If there are any other queries related to the same, feel free to let me know.
All that you need to do is scroll down till you reach the bottom of the page. Then leave your doubts and suggestions in the comment box below. And I will be there to answer them all for you!
More Resources:


All Comments
Juul Fiyat
I truly appreciate your technique of writing a blog. I added it to my bookmark site list and will
Juul
I truly appreciate your technique of writing a blog. I added it to my bookmark site list and will